Solutions
 Breadcrumb: Home > Solutions > Biofilm Detection
 Updated:2026-11-17
 Views:
Biofilm is not a synonym for dirt. It is a survival structure that microorganisms build for themselves, and it makes bacteria unusually stubborn in the face of detergents and disinfectants. This article separates two actions that are easy to confuse - monitoring and testing - and explains why biofilm monitoring is worth the effort. It then compares six method families, covering culture methods, ATP bioluminescence, microscopy and confocal imaging, rapid quantitative assays, molecular methods and UV fluorescence screening, on resolution, time to result and suitable applications. The closing section describes how to combine them according to site conditions.
Biofilm is not a synonym for dirt. It is a survival structure that microorganisms build for themselves. It makes bacteria unusually stubborn in the face of detergents and disinfectants, and it makes a surface that looks clean show repeated microbial excursions. What biofilm monitoring sets out to do is find that invisible layer, quantify it, and track whether it has actually been removed.
After microorganisms attach to a solid surface, they secrete an extracellular polymeric substance (EPS) built from polysaccharides, proteins, extracellular DNA and lipids, and wrap themselves in it, forming a community with a three-dimensional structure and internal water channels. EPS often accounts for more than half the dry weight of a biofilm and in some systems reaches nine tenths of it. It is the main barrier behind the resistance of biofilm to cleaning and disinfection.
Formation broadly follows five steps:
Three consequences are worth remembering. A disinfectant has to cross the EPS before it can reach the cells, so the effective concentration is diluted sharply. Cells deep in the layer sit in a low-metabolism state and respond poorly to disinfectants that depend on growth processes. Attached cells also express genes differently from planktonic ones, with resistance that can be several hundred times higher. This is the common reason why the concentration was adequate and the contact time was adequate and the micro count is still out of specification - the problem is usually not the disinfectant but a layer that was never opened up.
Testing answers the question "is it here at this point right now". Monitoring answers the question "over this period is it getting better or worse". The former is one-off and point-based; the latter is longitudinal, carries a frequency and looks at trend.
What pharmaceutical, food and beverage, and semiconductor operations actually need is the latter. A single pass says little; three consecutive months of trend say whether the cleaning procedure is stable. A workable monitoring program therefore contains at least three things: a fixed list of sampling points, a fixed method with a fixed interpretation criterion, and a history that can be compared with itself. Missing any one of them, the data are just isolated snapshots.
A commonly cited estimate is that around eighty percent of bacterial infections involve biofilm. In a healthcare setting that means tubing, instruments and the inner walls of water lines releasing cells continuously. In food and pharmaceutical settings it means product is repeatedly contaminated, while samples taken after routine disinfection often fail to show it.
An audit does not look at whether you disinfected; it looks at whether you have evidence that disinfection worked and whether trend data support the conclusion. A cleaning validation that lacks the biofilm perspective tends to leave a gap at exactly the point where disinfectant efficacy falls because the matrix protects the cells.
Biofilm raises heat-transfer resistance, accelerates pipe corrosion, blocks nozzles and membrane modules, and forces the disinfectant dose upward. These costs are less visible than a rejected batch, but month after month they add up.
The sample is allowed to form biofilm in liquid or on agar medium, then attachment is quantified on a microtiter plate (MTP) with crystal violet staining, or the film-forming ability of the strain is judged on Congo red agar (CRA). The advantages are low cost and compatibility with susceptibility testing and species identification. The drawbacks are slowness, typically 24 to 72 hours, and coverage limited to the fraction of organisms that will grow on that medium - the culturable share of an environmental sample is usually well below one tenth of the total.
A luciferase reaction measures the ATP left on a surface and gives a reading in tens of seconds, expressed in RLU. It measures the total of all living cells plus organic residue. It does not distinguish species, nor microbial ATP from the ATP contributed by food residue and detergent, so a baseline threshold has to be established for each point or the readings are not comparable.
The light microscope gives a preliminary view. Fluorescence microscopy with specific dyes separates live cells, dead cells and the polysaccharide matrix. Confocal laser scanning microscopy (CLSM) produces a three-dimensional reconstruction and measures thickness, biovolume and porosity, and is a common tool in biofilm structure research. Scanning and transmission electron microscopy (SEM/TEM) add high-resolution surface detail. The shared limitation of this group is that it needs a sample, an instrument and an operator, and cannot deliver a conclusion on site.
Dry weight gives total attached mass, crystal violet (CV) gives attached biomass, and atomic force microscopy (AFM) gives surface adhesion force and topography. They suit side-by-side comparison in the laboratory and offer limited help for on-site inspection.
Quantitative PCR against markers such as 16S rRNA gives community composition and relative abundance and can identify specific pathogens; high-throughput sequencing goes further and describes community structure. Sensitivity is high, but the work again depends on a laboratory, and live cells are hard to separate from residual DNA.
Under UV-A (365 nm) illumination, proteins and peptides in the biofilm matrix, coenzymes and porphyrin metabolites are excited and emit visible fluorescence in the blue to green band that the eye can pick up. This is one of the few methods that can be carried into the plant and give a spatial distribution immediately after cleaning, but what it delivers is suspect locations, not a species identification.
| Method | Time to result | What it answers | Typical use |
|---|---|---|---|
| Culture (MTP/CRA) | 24 to 72 hours | Whether the strain forms film, disinfectant susceptibility | Laboratory confirmation, strain research |
| ATP bioluminescence | Tens of seconds | Total organic residue on the surface | Rapid release decision after cleaning |
| Microscopy and CLSM | Hours to days | Three-dimensional structure, thickness, live/dead ratio | Mechanism research, failure analysis |
| Dry weight/crystal violet/AFM | Hours | Attached biomass, adhesion force | Material and coating evaluation |
| qPCR/sequencing | 1 to 3 days | Community composition, specific pathogens | Contamination tracing |
| UV-A fluorescence screening | Immediate | Where contamination sits, whether it was removed | On-site inspection, cleaning validation, audit preparation |
In practice these methods are not substitutes for one another but a layered combination: fluorescence screening finds the location, ATP confirms quickly, culture and molecular methods deliver the conclusion. Done the other way round, using laboratory methods to cover a whole plant, neither the cost nor the time is realistic.
The value of fluorescence is spatial resolution and immediacy: it can put contamination at a specific location on an image instead of giving an average. But it has clear limits, and they need to be stated before use.
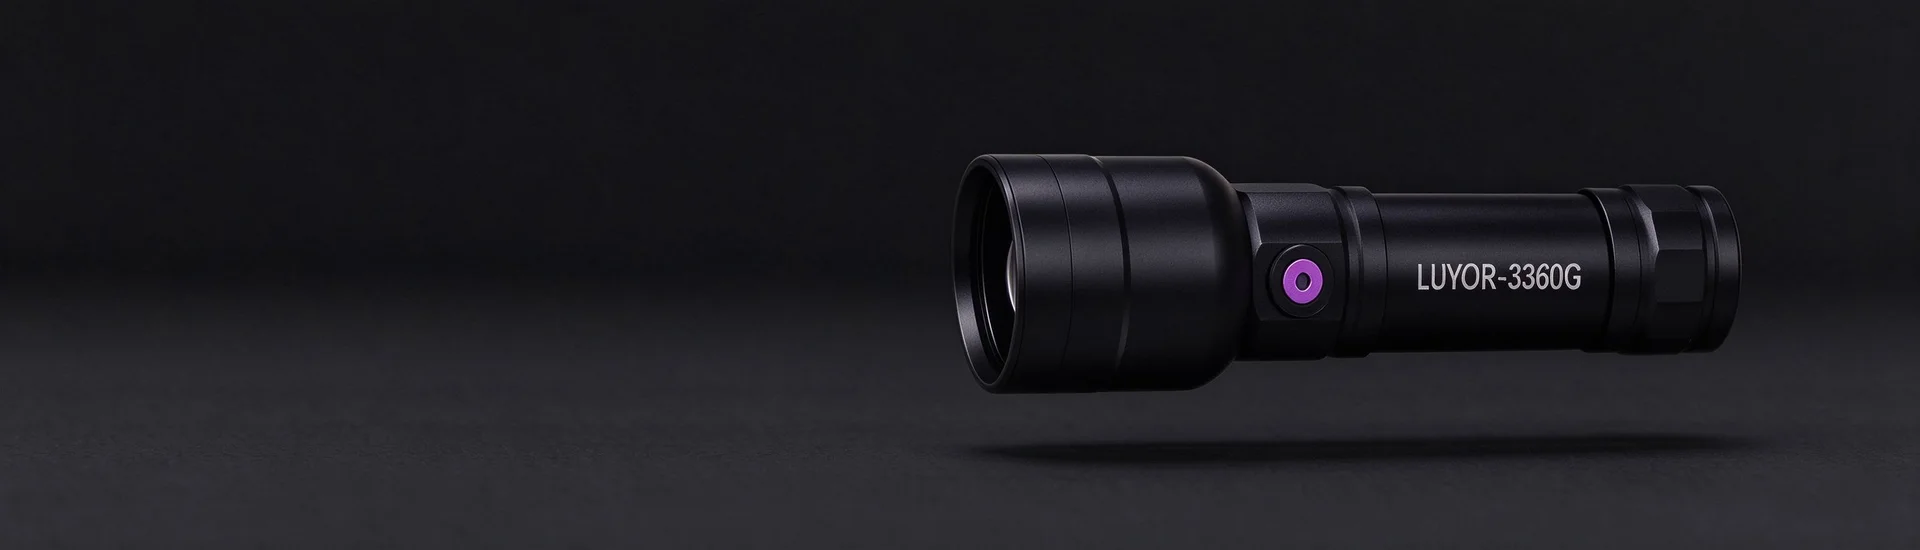
When these conditions are met, a handheld biofilm detection lamp can sweep the inner wall of a tank or a length of conveyor in a few minutes and mark directly where rework is needed. Equipment of the biofilm detection lamp type is, in essence, fluorescence screening made portable and made able to record photographic evidence on site.
Begin with the points. Do not distribute points by area; place them at dead spots: low points and blind ends in piping, valves and gaskets, tank welds, the area around the liquid line, the side a spray ball does not reach, pump seals. Once fixed, the points stay fixed, and every later data set becomes comparable.
Then establish a baseline. Run a full inspection when the equipment has just been cleaned and its condition is known to be good, and record it; that set becomes the reference for judging normal later. An inspection without a baseline is a matter of personal impression.
Then set the frequency. Set it by risk: high-risk lines every shift or daily, general areas weekly, and always before restart after a seasonal shutdown. Write the frequency into the cleaning procedure rather than arranging it ad hoc.
Finish with re-check and filing. Mark the points judged contaminated, photograph them, and record location and severity; after corrective action, re-inspect along the same route and use the before-and-after pair to show that cleaning worked. Photograph, point, date and operator - with all four present, the record can be used in an audit.
Look at three things: attachment strength, recurrence and distribution pattern. Ordinary soil tends to sit on flat surfaces that collect dust, comes off when wiped, and does not return after rinsing. Biofilm often spreads in sheets along the liquid line, welds and the direction of flow, reappears at the same place some time after wiping, and feels slimy to the touch. Under UV fluorescence, biofilm tends toward green with irregular edges, while non-living material tends toward blue-white. A conclusion still requires a wipe sample with culture or ATP.
No. Culture detects just those organisms that will grow on that medium, at that temperature, within that time, and that share of an environmental sample is usually low. Cells deep in a biofilm are in a low-metabolism or damaged state, and some are viable but non-culturable (VBNC), so a plate count reads negative. A swab also covers a very small area and often misses the point where the contamination sits. A negative culture therefore means no more than that the sample taken did not grow under the conditions used; it does not mean the surface is clean.
No; the two are complementary. ATP gives a total reading for one point and is sensitive, but it cannot tell you the spatial distribution of contamination and cannot separate microbial ATP from ATP carried by food residue and detergent. Fluorescence screening is the opposite: it marks the location and extent of contamination immediately but gives no number. The sensible sequence is to use fluorescence to find suspect points, then add ATP or a swab at those points to confirm.
Grade it by risk. For high-risk areas (aseptic filling lines, critical points in purified water and water for injection systems, ready-to-eat food contact surfaces) a check every shift or daily is advisable; general production areas weekly; and always add a check after a shutdown and repair, a product changeover, or a change of disinfectant. The frequency should be written into the cleaning procedure and kept stable, because frequent changes make trend data meaningless.
Not for a formal judgment. Screening depends on two things: stable 365 nm output and enough illuminance. Many low-cost torches are rated at 395 nm, with the actual peak shifted and a high visible violet component, so fluorescence contrast is poor; unstable output also makes inspections from one occasion to the next incomparable. A casual personal look is one thing; for cleaning validation records you need verifiable dedicated equipment, with output confirmed against a UV radiometer at intervals.
Work in the order mechanical removal, then chemical disinfection, then re-check and verification. Use brushing, scrubbing or the mechanical action of CIP to break the EPS structure, then treat with a disinfectant intended for biofilm and hold the contact time, then re-inspect along the same route under fluorescence to confirm the green signal has gone. Disinfectant alone without mechanical action often kills surface cells while the EPS remains, and the growth returns within days.
Further reading: why pharmaceutical manufacturers have to test for biofilm; for the on-site procedure and interpretation method, see five steps in bacterial biofilm detection; for equipment selection, see how to choose a biofilm detection lamp.
This article sits in the frequently asked questions section.
Other sections on the same product line are biofilm detection lamps (UV-A excites the autofluorescence of biofilm, which is how contamination the eye cannot see is made visible) and industrial test instruments (the entry point for four lines: UV inspection, rotational speed measurement, stroboscopic observation and surface inspection).
Models mentioned in this article: LUYOR-330, XEPU-1720. Ranges, accuracy and accessory lists for each model are given on the product pages.

Email: info@xinysun.com

Tel: 131-2093-6518

Address: 1525 Minqiang Road, Bldg 26, Songjiang, Shanghai

Copyright 2026 Xinysun Instrument (Shanghai) Co., Ltd. All rights reserved.
ICP:ICP-2026046447




 Industrial Test Instruments


