Applications
 Breadcrumb: Home > Applications > Semiconductor Cleanroom
 Updated:2026-11-16
 Views:
Cleanroom air can pass every count while particles still appear on the product: one fraction settles out of the air, another is transferred by surface contact, and each mechanism accounts for about half. This article divides the work among six inspection lamps by spot size and intensity rather than by a ranking of specifications, shows how the same residue looks under different lamps, and sets out four sets of actions for four scenarios plus a five-step routine that runs from entering the cleanroom to closing the loop. It is the overview for the semiconductor particle inspection series.
Back to the semiconductor particle inspection section to see the six inspection devices that go with this approach and further method articles.
Cleanliness systems on semiconductor lines are mature: airborne particle counters report class to ISO 14644-1, surface particle scanners check incoming wafers, and wipe sampling is done at key points. Between these three methods sits a gap - large, irregular, fixed surfaces that cannot be removed and will not fit inside an instrument.
Guide rail gaps, robot grippers, chamber door seals, FOUP slots, tool top surfaces: these places are not in the air-sampling envelope and cannot be covered point by point with wipe sampling. Yet they are exactly where particles settle, accumulate and transfer onward. The result is a familiar contrast on the floor: air data passes all the way through, while point defects keep appearing on wafers.
This series fills that gap: two inspection light sources that can be carried by hand and taken into the cleanroom turn "invisible residue" into evidence you can point at, photograph and re-check, supported by 4 method articles on boundaries and procedure.
Surface contamination is a mixture: organic material such as oil, fingerprints, fibres, skin flakes and adhesive marks, and inorganic material such as silicon dust, metal wear debris, glass fragments and abrasive residue. The two behave completely differently in optical terms, so any single method will miss one of them.
| Contaminant type | Typical source | Method that sees it | Method that does not |
|---|---|---|---|
| Oil, fingerprints, skin flakes, protein | Glove contact, grease spill, incomplete cleaning | 365nm UV fluorescence (glows) | White-light visual - almost no contrast against the background |
| Fibres, wipe lint, paper fibres | Consumable shedding, packaging opened in the area, cleanroom garments | 365nm UV fluorescence + grazing high-intensity light | Nearly invisible under uniform overhead lighting |
| Silicon dust, metal wear debris, abrasive | Machining, guide rail wear, incoming material | Grazing high-intensity light (scatters into bright points) | UV fluorescence - does not emit light itself |
| Glass fragments, quartz particles | Handling damage, fixture wear | Grazing high-intensity light | UV fluorescence |
| Cleaning agents, drying marks | Incomplete drying, fluorescent components in the cleaner | 365nm UV fluorescence (even, faint glow) | White-light visual - not visible |
So the complete approach uses two lamps: grazing high-intensity light for inorganic particles and scratches, 365nm UV for organic and cleaning-agent residue. Work in the order high-intensity, then UV - use scattering to find where something is, then use fluorescence to judge what it is.
All six are used in the visual surface step; the difference is not who is better but how large the spot is, how high the intensity is, and how power is supplied. Whether the work surface is the inside of a carrier slot or a whole carrier, whether it is a dark-corner check or a fast whole-batch pass, the answer changes. They are divided by frequency of use and working scenario, not ranked by specification.
| Model | Spot and intensity | Suited to answering | Typical step |
|---|---|---|---|
| MNT-365A | 365nm UV, small focused spot, pen-type one-hand use | Point organic particles, fibres, oil, fingerprints, cleaning-agent residue | Daily cleanroom walkdown, confirming organic residue after tool PM, sweeping carrier slots one by one |
| LUYOR-2130L | Three adjustable levels, about 13000uW/cm2 at 250mm, spot about 200mm | Medium-area medium-to-high intensity fluorescence, balancing brightness and coverage | Degreasing checks on fittings and chamber walls, small carrier batches item by item, post-clean residue recheck |
| LUYOR-365L | 360-370nm, about 6500uW/cm2 at 38cm centre, illuminated area about 200mm | Fast coverage of a whole surface, exciting even weak fluorescence | Incoming acceptance, whole-surface recheck after cleaning, batch carrier inspection, narrowing the range in defect tracing |
| LUYOR-3180 | About 40000uW/cm2 at 38cm, visible light below 20lux | Fine residue and thin oil film at high intensity, very high dark-field contrast | Fixed-point recheck at critical stations, confirming trace grease spill, final judgement on suspect points |
| LUYOR-BB series | 8 × 365nm LEDs with a white-light blocking filter, BBMA about 9000uW/cm2, effective spot 28.5cm, IP68 | Wet, oily sites that need wiping or even rinsing | Recheck after tool move-in and modification, tool undersides and floor trenches, oily and coolant environments |
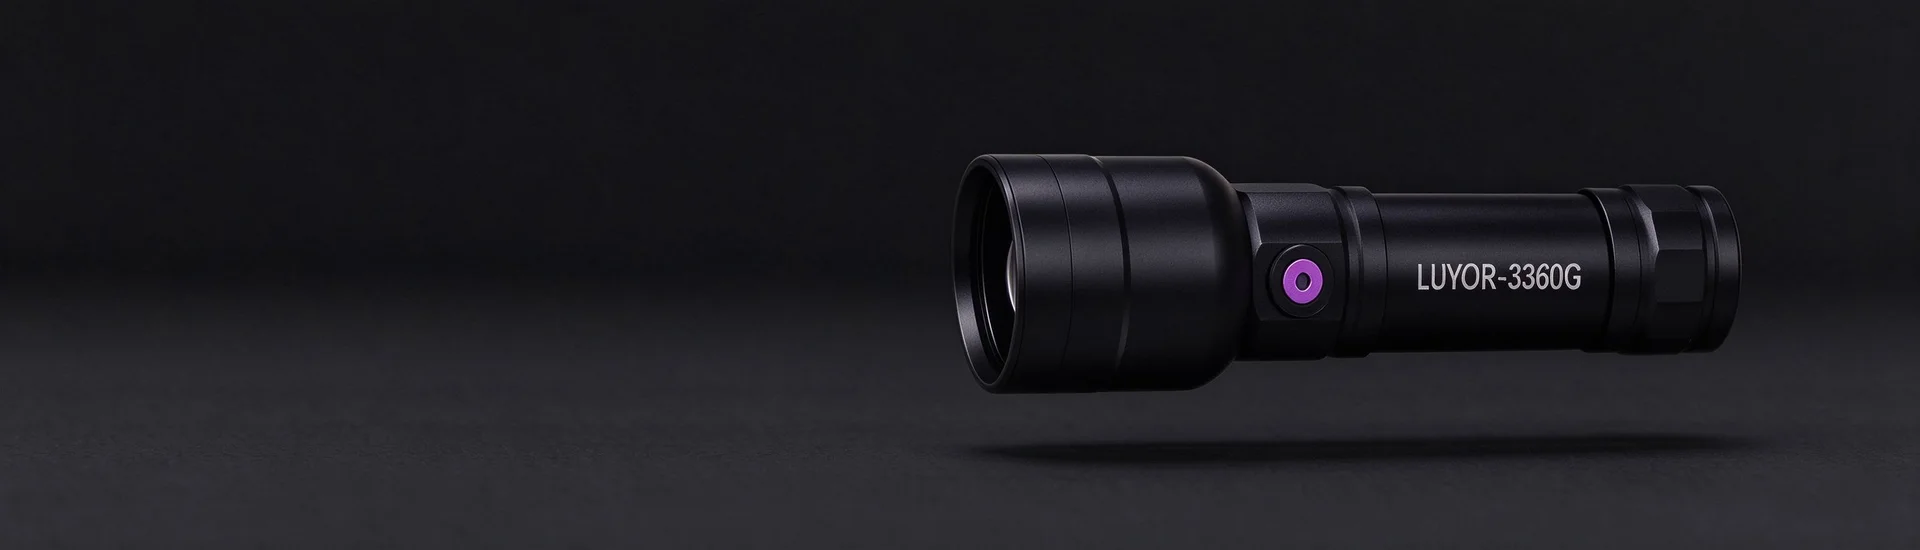
| LUYOR-3360G | Yellow-green 20W laser through a secondary focusing lens | Silicon dust, metal wear debris, glass fragments, micro-scratches, handprints | Wafer and cover glass inspection, metal wear debris on tool parts, grazing recheck after PM |
These six answer six different questions, and dropping any of them leaves a gap:
The LUYOR-365L covers "area" - after cleaning you need to confirm that a whole surface is clean; with a small spot you have to move many times and the risk of missing a patch rises with each pass. The value of a 200mm illuminated area is coverage, not brightness;
The LUYOR-2130L covers "medium area with adjustment" - chamber walls and fittings are awkward to move and partly shadowed, and three brightness levels let you find the balance on site: too bright and the image is overexposed so detail is lost, too dim and weak fluorescence is not excited;
The LUYOR-3180 covers "the intensity ceiling" - weak signals such as thin oil film and trace residue are not brought to visible brightness by an ordinary torch. High intensity moves a signal from "can be seen" to "easy to read"; the cost is a concentrated spot and small single-pass coverage, which suits fixed-point work rather than a general survey;
The LUYOR-BB series covers "harsh environments" - tool move-in, modification and tool undersides involve oil, moisture and wiping. The IP68 sealed body and the output with a white-light blocking filter let it work in these places without extra protection;
The MNT-365A covers "daily work and dark spaces" - cleanroom bench tops, fixtures and carrier slots are high-frequency checks that travel with the operator, so it needs to go into the clean zone, shed no particles from its barrel, and work in one hand; carrier interiors are dark, where UV contrast is high;
The LUYOR-3360G covers "the inorganic half" - silicon dust, metal wear debris and glass fragments look no different from a clean surface under UV; directional scattering alone brings them out. Its two lighting techniques (grazing for particles, perpendicular for handprints and scratches) are the part of this approach that finds scratches.
If you can add one lamp now: choose by your actual problem. If the recurring issue is point defects on wafers, suspected to come from carriers or tools → start with the MNT-365A; if metal wear debris, scratches or mechanical damage is suspected → start with the LUYOR-3360G; if you need fast whole-surface coverage to check batches of carriers → start with the LUYOR-365L; if the site is damp and oily with unstable conditions → start with the LUYOR-BB series. If you are unsure, describe the inspection location and the contamination and we will advise.
Differences in spot and intensity come down, on site, to how much you can see. The table below uses one contaminant family as the reference to show the degree of visibility for each of the six - this is not a ranking of quality but the basis for deciding which lamp to carry on a given visit.
| Device | Grease inside a carrier slot | Whole-carrier pass | Silicon dust and wear debris | Damp, oily site |
|---|---|---|---|---|
| MNT-365A | Clear, close-in angle easy to control | Requires block-by-block movement, speed limited | Not visible | Usable, dry the surface beforehand |
| LUYOR-2130L | Clear, mid-level brightness shows detail | Moderate, about 200mm per pass | Not visible | Usable, dry the surface beforehand |
| LUYOR-365L | Clear, needs more distance | Efficient, wide coverage | Not visible | Usable, dry the surface beforehand |
| LUYOR-3180 | Prone to overexposure, needs distance | Small coverage, suits spot checks | Not visible | Usable, dry the surface beforehand |
| LUYOR-BB series | Brighter, watch for reflections | Covers 28.5cm in one pass | Not visible | Usable directly, IP68 |
| LUYOR-3360G | Not pronounced | Requires angled row-by-row sweeping | Clear, bright scatter points | Usable, grazing angle constrained |
How to read the table: decide what you are looking for, then where you are looking, and the cell where the two cross is the device to carry. The inorganic particle column has a value in the LUYOR-3360G row alone - this is the part of the approach that cannot be omitted.
The same equipment is used quite differently at different steps. The four rows below are the scenarios this series covers, each with a matching method article.
| Scenario | Question to answer | Method and actions | Method article |
|---|---|---|---|
| Handover after tool PM | Are particles and grease left in the area that was worked on? | Grazing sweep of the inner zone point by point → UV re-sweep of lubrication points and seal faces → A/B/C graded disposition → reset and recheck | Particle recheck SOP after tool PM |
| Carrier and pod reuse | Are the FOUP inner walls and slots clean enough to hold wafers again? | Slot-by-slot grazing sweep → UV re-sweep along the same path → judge the source from the pattern → treat the individual item | Inspecting particle contamination on FOUP inner walls |
| Cleaning and degreasing validation | Has the cleaning process removed the residue? | Before-and-after photographs at the same angle; fluorescence going out is the closed loop; quantitative wipe sampling at key points | ISO 14644 and surface cleanliness |
| Defect tracing | Which location is producing the recurring point defects? | Fast whole-process pass to narrow the range to a location → high-intensity light to confirm particle morphology → sample and compare against the defect atlas | Applicability and pairing of five methods |
The four actions share a rhythm: visualisation narrows the range, quantitative methods confirm the conclusion. Doing it the other way round - sampling up front and waiting for the lab - often costs a full cycle before you learn the sample was taken in the wrong place, at the price of time and one stoppage.
Whether you are checking a tool, a carrier or a cleaning result, the on-site actions reduce to the same routine. What differs is the inspection area and how strict the criteria are.
Follow the cleanroom goods-in procedure: clean the lamp body and lens with a compatible wipe and bring the unit in through the pass-through. Oil on the lens produces an uneven spot, which leads to false bright or dark readings. Confirm the charge level as well - a flat battery mid-way voids the whole round.
Switch off local lighting or draw the blinds. Contrast for both fluorescence and scattering improves as ambient light falls. Yellow-light areas are a special case, so confirm a workable dark-field method in advance.
Split the area to be inspected into blocks, hold the lamp in one hand and move the head slowly close to the surface, covering block by block without skipping. Slow down and change angle at gaps, slots and mating faces, keeping distance and tilt relatively constant.
Patches of high brightness are priorities for correction; scattered points go into routine recheck. Mark locations with cleanroom labels or photographs, and record distance, angle and lighting conditions, with each photograph matched to a location number.
Clean the marked locations more thoroughly and, once dry, sweep again at the same angle and the same distance. A clear drop in fluorescence is direct evidence that cleaning worked. If the same location recurs, escalate the problem from "cleaning" to a structural dead corner or to the cleaning process itself.
Equipment is a tool; the reliability of a judgement depends on the method. The four articles below form the method part of this series and are worth reading in order.
Setting out the boundaries in advance is worth more than explaining afterwards. The approach cannot do the following four things, and should not be used for them:
It does not quantify. The presence and relative strength of fluorescence, and the brightness of scatter points, cannot be converted into particle counts or a size distribution, and cannot serve as a surface cleanliness figure declared externally. Where a number is needed, use wipe sampling plus laboratory analysis.
It does not replace standard methods - ISO classification, incoming release and customer audits still rely on particle counters, surface particle scanners and the established SOP;
UV cannot find inorganic particles - silicon dust, metal wear debris, glass fragments and quartz sand do not fluoresce; grazing high-intensity light alone shows them. Releasing a batch on a judgement made with UV alone lets the dangerous class of residue through;
High-intensity light cannot find organic residue - oil film, cleaning agent and fingerprints are merely slightly darker in visible light, and disappear as soon as the background changes. The two methods are complementary, not optional;
Results depend on ambient light and geometry - change the illuminance, distance or angle of incidence and results are no longer comparable. To use them as evidence, these conditions must be fixed beforehand and a reference set established.
Visual methods are easy to dismiss as subjective. To hold up internally and to be defensible in an audit, fix three things beforehand:
Choose one location known to be acceptable and one known to be contaminated, photograph both at a fixed distance and fixed angle, and build an internal reference album. Judge against the album, not from memory.
Ambient illuminance, light-source model, spot size, distance from head to surface and angle of incidence all go into the SOP. Change a parameter and results are no longer comparable, and therefore not traceable.
Define actions separately for "large bright patches", "scattered points" and "faint edge glow": pass, clean in place, or rework with root-cause analysis. Reduce ad hoc decisions on the floor.
With these three in place, inspection results can enter the SOP and the traceability report, and stay consistent through staff changes and shift handovers.
They complement each other; one does not replace the other. A particle counter measures the concentration of particles suspended in air, for cleanroom class declarations and online monitoring; this approach inspects contamination that has already settled and adhered to surfaces. The same room can pass on air while surfaces still have a problem - because once a particle settles it disappears from the air data. The two data sets answer two questions: whether the environment is compliant, and whether this particular item can be used.
Because 365nm UV detects by "exciting fluorescence", not by "illuminating the object". Oil, fingerprints and fibres contain components that emit visible light under long-wave UV excitation, so they glow; silicon dust, metal wear debris, glass fragments and quartz sand contain no such components and look no different from a clean surface. These inorganic particles need grazing high-intensity light: light hitting a particle is scattered into the eye and appears as a bright point against a dark background.
An oil film does not necessarily produce a defect immediately, but it changes the adhesion of the surface - turning a surface that does not hold dust into one that does. The thin band squeezed out by over-lubrication during PM becomes a collection surface for later particles, which are lifted by machine motion a few days later and land on wafers. Under UV the band glows, and wiping it away costs far less than tracing it afterwards.
Knurling and deep grooves are an anti-slip advantage on a normal shop floor and a defect in a cleanroom: dust collects in the texture, it is hard to wipe clean, disinfectant residue is difficult to remove, and repeated wiping may shed coating or fragments, so the torch becomes a new particle source itself. A cleanroom needs a smooth, one-piece body whose surface can be wiped and disinfected directly and which does not shed particles or fibres in use.
They can serve as an internal record and a basis for corrective action, but not as a quantitative figure declared externally. The presence of fluorescence and the distribution of scatter points cannot be converted into particles per cm2. When a number must be issued externally, use wipe sampling over a defined area with laboratory analysis. In practice: visual methods locate and confirm closure, wipe sampling supplies the declarable number, and the two together form a complete evidence chain.
Stop repeating the cleaning and move to root-cause analysis. Common causes: a structural dead corner the cleaning method cannot reach, a damaged seal that keeps shedding, worn guide rail sliders producing debris, or a lubrication method that keeps overflowing. None of these is solved by cleaning; they need repair or a process change, and product from that tool should be verified more strictly in the meantime.
On-site demonstrations and short trials can be arranged. Tell us the inspection target (tool surface, carrier slot, wafer or glass part), the defect type you are looking for (particles, scratches, grease and fibres) and the site conditions (cleanroom or not, yellow-light area or not), and we will recommend a model and the key lighting technique, with despatch arranged directly from the Shanghai warehouse.
Please fill in the information below and we will suggest a model, the key points of the lighting technique and a configuration list based on your process step, inspection location and inspection frequency. If you need an official datasheet for internal approval, or would like an on-site demonstration arranged, please note it in the message.
References
The cleanliness classes and inspection methods mentioned here can all be traced to source; please check the original text against the following official publications:
This article sits in the semiconductor cleanroom section.
Other sections on the same product line include surface inspection lamps (low-angle side light pulling particles, scratches and handprints out of the background) and 365nm black lights (UV area sources for penetrant testing, leak detection and fluorescence inspection, judged by irradiance rather than wattage).
Models mentioned: LUYOR-3360G, MNT-365A, LUYOR-365L. Ranges, accuracy and accessory lists for each model are on the product pages.

Email: info@xinysun.com

Tel: 131-2093-6518

Address: 1525 Minqiang Road, Bldg 26, Songjiang, Shanghai

Copyright 2026 Xinysun Instrument (Shanghai) Co., Ltd. All rights reserved.
ICP:ICP-2026046447




 Industrial Test Instruments


