Products
PRODUCTS Breadcrumb: Home > Products > Semiconductor Particle Detection
 Overview
A PM re-inspection SOP for cleanrooms: grazing light for inorganic particles, 365 nm UV for grease and fibers, three risk rings, and A/B/C criteria.
The window between the end of a machine PM and the restart of production is when contamination risk in a clean area concentrates. Yet in many plants the PM close-out checklist has one line for it - "clean and confirm the area is tidy" - and who confirms, against what standard, and to what degree all rest on the shift operator's experience.
The result is the classic delayed exposure: air data is normal on the day of the PM, wafer defect rates rise three to five days later, and by the time the trail is followed several lots have passed. Breaking that cycle means turning the re-check from a sentence into a process with actions, criteria, and records.
This article gives a re-inspection SOP you can copy straight into the PM work order, including the inspection sequence, the method used at each step, how the criteria are set, and when rework is mandatory.
Start by seeing where the risk comes from. PM work itself creates contamination, and it creates exactly the kinds that are hard to find at other times:
Debris from disassembly - screws, clamps, gaskets, and cable ties break or drop during removal, and metal and plastic fragments scatter inside the mechanism in colors close to the equipment itself, hard to find under white light;
Grease from lubrication - rails and screws are easy to over-grease, and the excess is squeezed outside the sliding surface into a thin film that is nearly invisible but becomes a trap for particles;
Transfer by gloves and tools - glove contact area increases sharply during PM, and fingerprints, grease, and dust from gloves are transferred repeatedly to handles, covers, and inner walls;
Shedding from wipes and consumables - wipe edges, cut edges of cleanroom paper, and fragments of seal strip are a very common class of PM residue;
Incomplete removal of protection - masking tape, protective bags, and temporary plugs applied during the work, when one is missed at close-out or taken off too early, are all problems.
What these five have in common: scattered location, small size, and color close to the background. They do not disappear by themselves and do not necessarily cause a defect at once - an air current during the next mechanical move can lift them onto a wafer. That is the mechanism of delayed exposure.
Note that the five include both organic items (grease, fibers, glove residue) and inorganic ones (metal chips, plastic fragments, seal strip debris). Re-inspection therefore cannot be done with one method; two physical mechanisms have to work together.
Re-inspection is not "a look at the end". It should be an independent time window with clear entry and exit conditions in the flow.
| Stage | Action | Entry condition | Exit condition |
|---|---|---|---|
| During PM work | Disassembly, replacement, lubrication, cleaning | Machine stopped, energy isolation complete | All disassembly points restored, all protection removed |
| Initial cleaning | Clean the touched areas by the established method | Disassembly complete | No visible soil on the surface |
| Re-inspection | Grazing light plus UV fluorescence, area by area | Initial cleaning complete, illuminance adjustable | No open points, or points closed out |
| Rework | Targeted cleaning and re-inspection | A nonconforming point is found | Re-sweep at the same angle confirms removal |
| Return to production | Dry run, first-wafer verification | All re-inspection points closed | First-wafer result passes |
Two steps in that table are easily skipped: initial cleaning and re-inspection must be separate, because wiping and looking at the same time means fresh wipe marks interfere with the reading; rework must be followed by re-inspection, rather than "wiped, so it is handled". The second is the root cause of many failed PM re-inspections - find it, wipe it, then switch the machine on.
PM re-inspection has to avoid two things: checking only "the places you can see", and spreading without distinction over the whole area (too slow, so it gets compressed in practice). A workable approach is three rings around the work area, graded by risk:
Every part that was dismantled, opened, or lubricated. This includes:
Inner faces and mounting faces of removed covers, and the area around screw holes;
Sliding surfaces and ends of rails, screws, and sliders, and both ends of travel;
Contact faces and roots of grippers, nozzles, and ejector pins;
The compression marks and grooves of chamber door seals and O-rings;
Lubrication points and the overflow area within 50 mm around them;
The routing of cables and air lines, and their cable-tie fixing points.
The inner ring is swept point by point, with no item skipped. A miss in this ring maps directly onto defects in later product.
Areas opened and exposed during the work, or where people stood repeatedly, including the top cover of the tool, the area around service openings, the floor under the tool, and the side of the adjacent machine. The characteristic of this ring is contaminant already spread but at low concentration; a full-surface sweep is enough, with no need for point-by-point work.
Pass boxes, tool carts, and consumable staging surfaces. This ring is mainly for signs that contamination has been carried out; a few high-contact points are enough.
The practical value of the three rings is time allocation. The inner ring takes more than seventy percent of the re-inspection time, the middle ring about twenty, and the outer ring under ten - and in many plants the split is the reverse: the floor is spotless and the rail gaps were never looked at.
Re-inspection uses two physical mechanisms, and the order cannot be reversed.
Whether a particle can be seen depends on the brightness difference between particle and background. Uniform diffused light lights the whole surface and a few-micrometer particle vanishes into a bright background; gather the light into a beam with a single direction and strike it at an angle, and the particle scatters light into the eye while the background stays dark, so contrast appears at once.
Grazing light comes first because it reveals the typical PM residue - metal chips, plastic fragments, seal strip pieces, wipe fibers. These are the hard particles that actually cause scratches and mask defects.
Three operating points. First, keep the grazing angle low, with the body almost touching the surface and the sweep running nearly parallel to it, rather than lighting from above at an angle. Second, change the angle: sweep each surface in at least two directions, because particle scatter is directional and a fixed angle creates a fixed blind area. Third, particles and fingerprints take different angles - particles need grazing light, oil films and fingerprints need vertical light, and scratches are viewed vertically first and re-checked at a 10°-30° offset. Concluding after a single-angle sweep is a frequent cause of misses at this step.
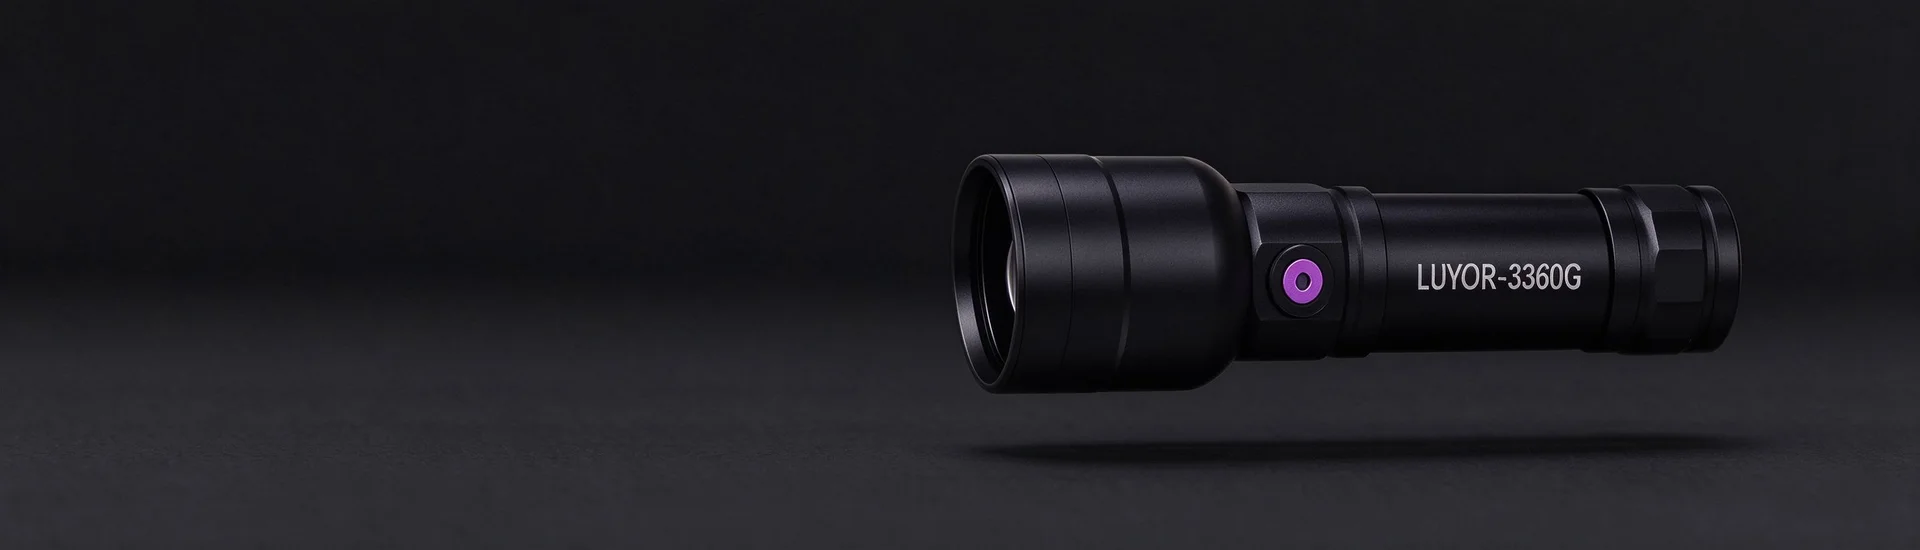
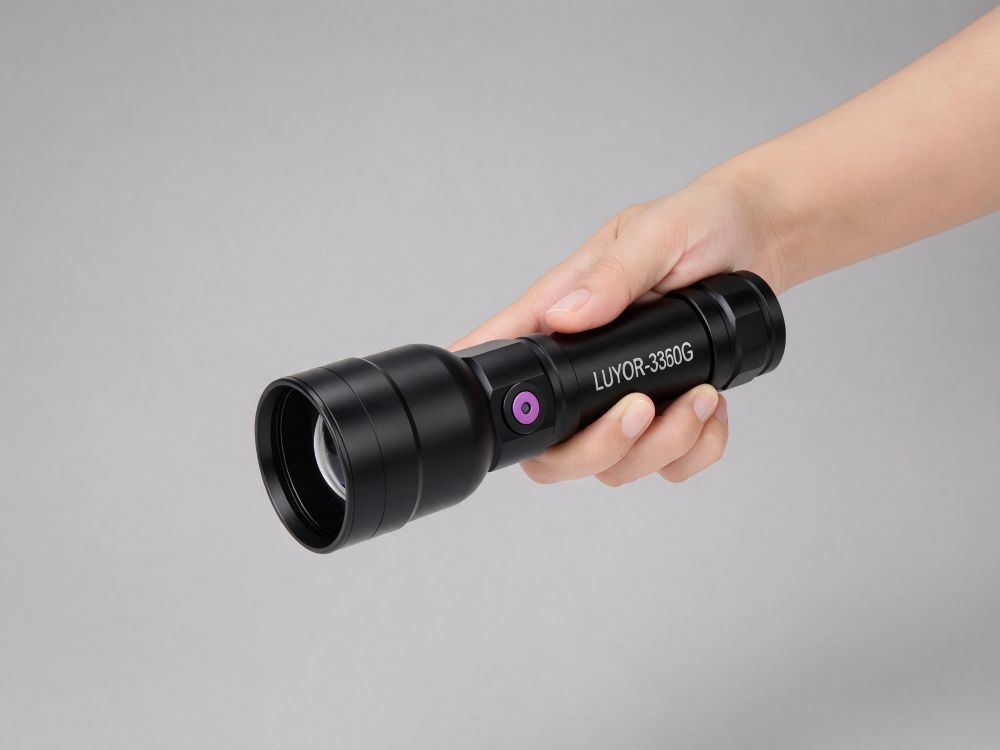
LUYOR-3360G is designed around exactly this action: a 20 W laser source through a two-stage lens zoom outputs a near-collimated beam with little stray light, about 280,000 lux in a 5 cm spot at 40 cm, and 500-600 nm monochromatic output keeps the background clean; the sliding zoom switches at any time between "sweeping (large spot)" and "judging (small spot)", and the 160 mm body, 340 g with battery, reaches inside mechanisms to sweep close to the surface.
Under 365 nm long-wave UV, grease, fingerprints, skin flakes, most fibers, and organic adhesives emit visible fluorescence while the background stays essentially dark. After PM it serves two purposes: confirming that grease has not overflowed, and confirming that wiping and cleaning really removed the organic residue.
Lubrication point checks are one of its higher-value uses. After re-greasing, excess grease is often pushed outside the sliding surface into a thin band that is nearly invisible to the eye. Under white light it cannot be seen; under UV it is a clear bright band - and that band is the adhesive that will later capture particles. Finding it, wiping it, and re-sweeping costs far less than tracing a defect afterwards.
Operating points: keep ambient light as low as possible (switching off local lighting during PM is usually feasible), clean the lens beforehand (a dirty lens swallows weak signals), and keep head-to-surface distance and tilt relatively fixed (otherwise results are not reproducible).
Equipment that goes into a clean area has extra requirements. Most industrial UV flashlights knurl or groove the body for grip, but texture is a defect in a clean area: it traps dust, is hard to wipe clean, retains disinfectant residue, and repeated wiping can flake the coating, so you create a new contamination source yourself. MNT-365A uses a smooth one-piece shell with no knurled texture and a surface that can be wiped and disinfected directly, and can be brought in after the clean-area entry procedure. For large areas that need a quick full-surface pass, use LUYOR-365L (about 200 mm illuminated area at 38 cm, center intensity about 6500 uW/cm2).
A boundary that must be written into the SOP: UV does nothing for inorganic particles. Silicon dust, metal wear particles, and glass fragments do not fluoresce and look no different from a clean surface under UV. Releasing a tool after a UV-only re-inspection lets the dangerous class of PM residue - metal chips - through. That is why the order has to be grazing light first and UV second: the two are not options but both mandatory.
An inspection without criteria is not an inspection. A three-grade scheme is simple enough for anyone to apply after ten minutes of training and covers the real cases:
| Grade | What is observed | Verdict | Action |
|---|---|---|---|
| A, pass | No visible highlight under grazing light; no fluorescence under UV, or only an even, very faint background response | Pass | Record and move to the next area |
| B, pending | Scattered points of highlight or fluorescence, clear location, few in number, not on a critical contact face | Needs cleaning | Clean in place, re-sweep at the same angle, close out when removed |
| C, fail | Broad bright area, a band of fluorescence, a location on a sliding, contact, or sealing face, or recurrence after cleaning | Rework | Extend the cleaning area, check upstream causes (over-lubrication, damaged seal, mechanism wear), then re-inspect the whole area |
There is one key supplementary rule: position matters more than count. A particle on the inner face of a cover is grade B; the same particle on a rail sliding surface or a gripper contact face is grade C directly, because the transfer probability is an order of magnitude higher.
Another rule to state clearly is recurrence means escalation. If a location still fluoresces or highlights after two cleanings, do not wipe a third time - the problem is not cleaning but structure (a dead corner, damage, a continuous source of wear debris), and it should be handled as grade C with a root-cause investigation.
Turn the above into actions. The inner-ring re-inspection is usually run in six steps. On a typical tool the whole sequence takes about 20-40 minutes, depending on the number of disassembly points.
Confirm that all protection has been removed, tools and consumables are out of the work area, and initial cleaning is complete and fully dry. The drying step cannot be skipped - wet cleaner residue fluoresces under UV and causes a false call.
Switch off local lighting or draw the blind. Wipe the body and lens with a cleanroom-compatible wipe and confirm the battery is full. A power failure mid-way voids the whole round, so fit a charged battery before starting.
Work through the inner-ring items listed in section 3, keeping the grazing angle close to the surface and sweeping each point in at least two directions. This pass does not judge the nature of the finding; it only records "where there is a highlight".
Go through the same sequence with 365 nm, focusing on lubrication points, sealing faces, surfaces that were wiped, and places gloves touched. Compare with the findings of step 3: what glows only under UV is organic residue, and what highlights under grazing light with no UV response is an inorganic particle.
Sweep the tool top cover, housing, service openings, floor, and adjacent machine side; spot-check a few high-contact points at pass boxes and tool carts. A handheld unit moved steadily across the surface is enough for this ring.
Clean grade B points in place and re-sweep at the same angle and distance; carry out rework on grade C points and trace the root cause. Give every point a number and match photographs to numbers one to one.
The value of a re-inspection record shows up later, when a defect needs to be traced. Include at least six items; drop any one and traceability weakens:
Tool number and station, and the type of this PM (scheduled / after a fault / after a modification);
Point list, that is the items actually checked in the inner ring - a checkbox table is more reliable than free text;
Nature of the contamination, organic or inorganic, or both;
Grade, A / B / C, with a description of the location for any B or C point;
Action taken and re-inspection result - what was wiped, what was replaced, whether the re-sweep confirmed removal;
Photographs, matched to point numbers, with observation distance and angle noted.
Item 5 is often shortened to "handled". In a traceability review, "handled" and "handled and confirmed removed" are two very different statements, and only the second supports a conclusion.
Operator variation is the main uncertainty in this method. To get roughly consistent conclusions across shifts and people, fix three things before formal use:
Reference images: choose one known-passing surface and one known-contaminated surface, photograph both at a fixed distance and angle, and build an internal reference album;
Observation conditions: write ambient illuminance, lamp model, spot size, head-to-surface distance, and angle of incidence into the SOP. Change any of them and results are not comparable;
Disposition rules: print the A / B / C table from section 5 directly on the work order to reduce on-the-spot judgment.
With those three in place, PM re-inspection qualifies as "verification" rather than "a look after tidying up".
Yes, and that is exactly the point. Air data reflects the concentration of suspended particles, while the metal chips, grease, and fibers left by PM have mostly settled and adhered to surfaces, where the sample inlet never reaches them. Air normal with a surface problem is a very common state after PM.
You can grade the scope, but not "check only what you can see". A workable approach is to reorder the inner ring by transfer probability: sliding, contact, and sealing faces and lubrication points are mandatory; cover inner faces and cable routes can drop to spot checks. That shortens the work without losing critical coverage. What has to be avoided is the inverted allocation where the floor is spotless and the rails were never looked at.
Look at the distribution first. An even, continuous faint response is usually cleaner residue or a thin water-mark film, and the remedy is better drying or a lower-residue cleaner; discrete fluorescence in points, lines, or patches is particle or grease residue. If it is unclear, re-check with grazing light - if there is no granular feel, treat it as residue.
Because both scatter and fluorescence intensity depend on the viewing geometry. Re-sweeping from another angle can leave contamination present but invisible, which reads as removed. Fixed distance and angle are what make the re-sweep comparable, and they are part of the reading baseline.
Stop repeating the cleaning and switch to root-cause analysis. Common causes: a dead corner the cleaning method cannot reach, a damaged seal that keeps shedding, wear on a rail or slider that generates debris, or a lubrication method that keeps overflowing. None of these is solved by cleaning; they need repair or process change. Product from that tool should be verified under tightened conditions in the meantime.
The core of PM re-inspection is not a brighter lamp but turning "a look" into a time window with entry conditions, an action list, criteria, and records. Grazing light pulls inorganic particles out of a dark background, 365 nm UV makes grease and organic residue visible, and the order is fixed with neither step optional.
The cost of putting it in place is low: twenty extra minutes on a PM, traded against defect tracing three to five days later, a whole-lot disposition, and customer communication. For the fuller background to this process, see semiconductor particle detection: five methods and where each one stops; for the carrier side, see how to inspect wafer carriers and FOUP inner walls for particle contamination.
To have a re-inspection point list built for your tool types and PM scope, to request official datasheets for LUYOR-3360G and MNT-365A for internal approval, or to arrange a demonstration on site, please contact Xinysun Instruments (Shanghai) - stock in Shanghai, with selection advice and demonstration support.
Send inquiry

Email: info@xinysun.com

Tel: 131-2093-6518

Address: 1525 Minqiang Road, Bldg 26, Songjiang, Shanghai

Copyright 2026 Xinysun Instrument (Shanghai) Co., Ltd. All rights reserved.
ICP:ICP-2026046447




 Products
 Applications
 Previous:
 Back to list

 Industrial Test Instruments


